
If you’ve implemented manufacturing in Business Central for a company that outsources work, you’ll know the gap. Standard BC could create a purchase order for an outsourced operation, but not manage the material side. Who has the components? Where is the half-finished product right now? The answer usually lived in a spreadsheet or a custom extension.
That has now changed. Microsoft has released a standard (W1) Subcontracting app, and 2026 release wave 2 (version 29) builds on it. Here’s what it does, how to set it up and run it, and what to watch out for.
What it is and why it matters
Subcontracting is a Microsoft-published extension. You install it from the Extension Management page or from Microsoft Marketplace. Microsoft’s release plan lists it as generally available from 8 July 2026, and Message Center item RM576872 confirms it as launched.
The release plan describes the main capabilities as:
- Logistics flows for transferring raw materials and components to subcontractors, with warehouse handling and item tracking.
- Flexible pricing by work center, item, dates and quantity.
- Finished goods receipts from purchase orders, with item tracking and warehouse handling.
- Logistics flows for transferring finished goods between subcontractors.
- More transparency across the production process.
Before this app, standard BC gave you two basic tools. You could link a work center to a vendor, and you could cost that work center per unit or by time. Everything else, such as component logistics, multi-stage outsourcing and vendor price lists, was left to partners and localisations. The best-known localisation was Italy’s, which handled both component and finished-goods logistics. Microsoft is now deprecating the Italian local feature. It provides upgrade logic, and you choose when to switch using a feature key on the Feature Management page.
In online environments, the old Subcontracting Worksheet is now obsolete; opening it without the app shows a notification with an Install button.
What’s new in version 29
Wave 2 fills in many of the practical gaps:
- Assisted setup. A Subcontracting Setup guide takes you through company defaults and links to the related setup pages.
- Instructions that follow the operation. Subcontracting comments on standard tasks and routing lines copy to the production order. They then appear as text lines on the subcontracting purchase order. Routing attachments can follow the same path.
- Inventory put-aways and picks. Basic warehouse locations can now use inventory put-aways for subcontracting purchase lines. WIP transfer orders can use inventory picks and return put-aways.
- Setup warnings. If you assign a subcontractor to a work center and the vendor has no subcontracting location, a notification tells you.
- Better demo data. Contoso Coffee now includes subcontractors and mid-routing and final-operation subcontracting routings.
Key setup
Manufacturing Setup defaults
The Manufacturing Setup page has a Subcontracting FastTab with several defaults:
- The journal template and batch used when you create subcontracting directly from a production order routing line.
- Whether to add a production order information line to the purchase order.
- Which component direct unit cost to use: standard price finding, or the cost from the production order component line.
- The Subcontracting Component Transfer Lead Time. It sets the receipt date on transfer orders, which is the component due date minus the lead time.
Work centers and vendors
You make a work center a subcontract work center by filling in its Subcontractor No. field. Each subcontractor vendor then needs a Subcontracting Location Code on the Shipping FastTab of the vendor card. Microsoft recommends a separate location for each vendor. That location can’t use warehouse handling features such as bins, picks or put-aways.
For costing, use one rate per vendor on the work center, or select Specific Unit Cost to set a cost on each routing line.
Routings and production BOMs
Subcontracting operations go on routing lines like any other operation. One important rule: the Type must be Work Center, not Machine Center. Machine centers don’t support subcontractor assignments.
To link components to a subcontracted operation, use routing link codes on the routing and the production BOM. Then set the Component Supply Method on each BOM line:
- Vendor-Supplied: the subcontractor buys the component, and BC adds a purchase line for it on the subcontracting order.
- Consignment at Vendor: your own stock is already at the subcontractor’s location, and you replenish it through normal planning.
- Transfer to Vendor: you ship the exact quantity needed for each production order using transfer orders.
Subcontractor prices
The new Subcontractor Prices page stores prices by work center, vendor and item. You can also set standard task, variant, date range, unit of measure, minimum quantity, currency and a minimum amount. You can copy prices from one vendor to another, which saves time when you onboard a second subcontractor.
The process, step by step
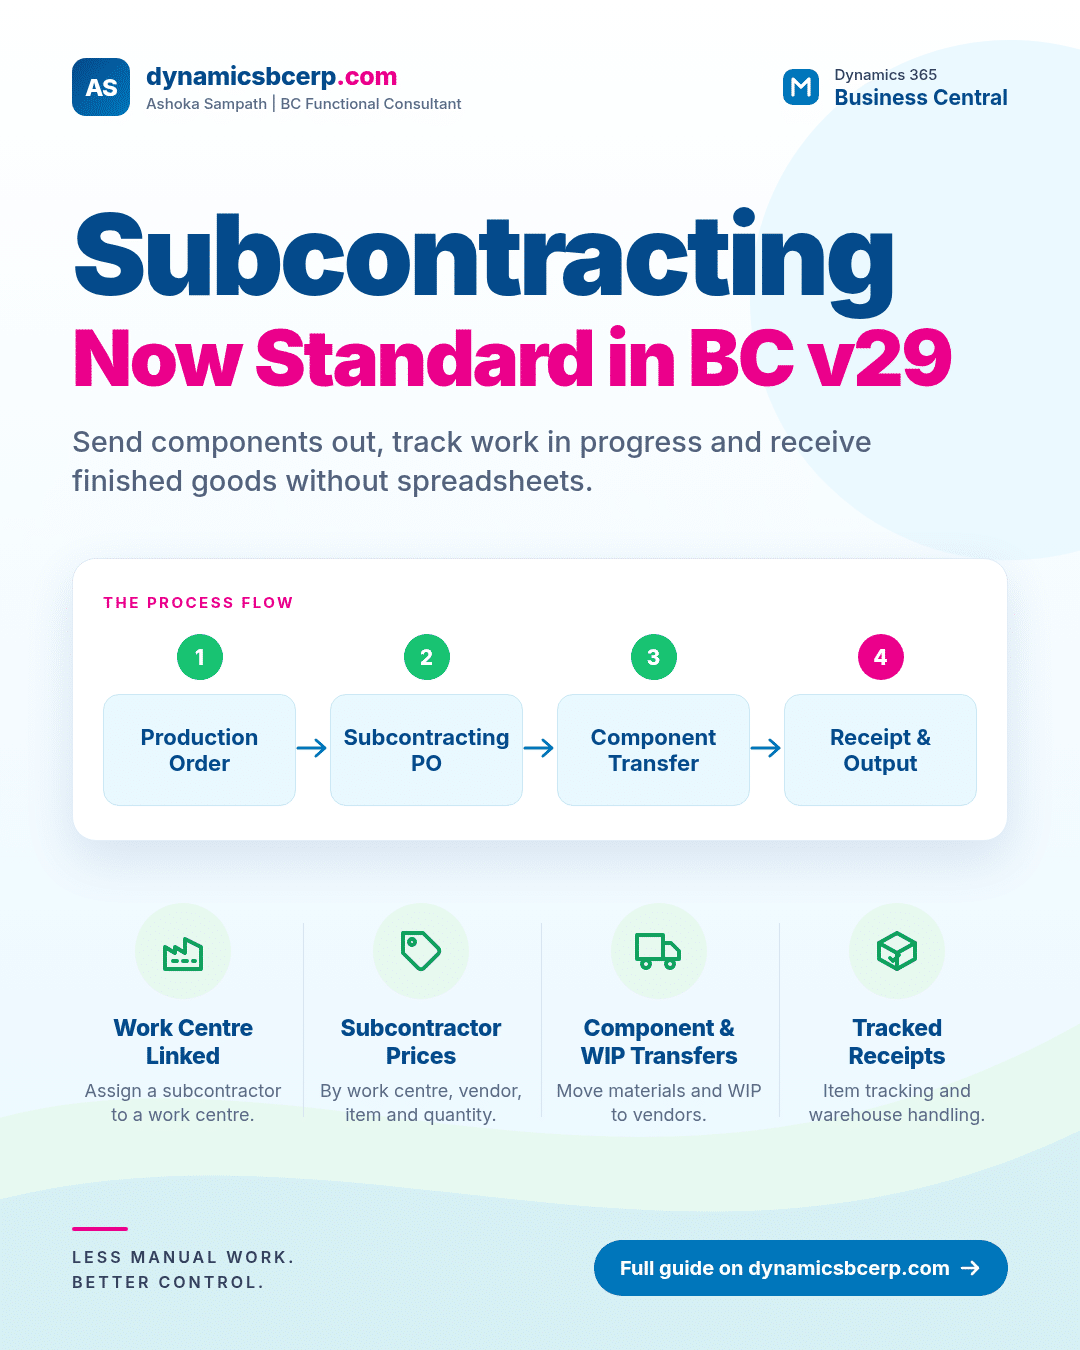
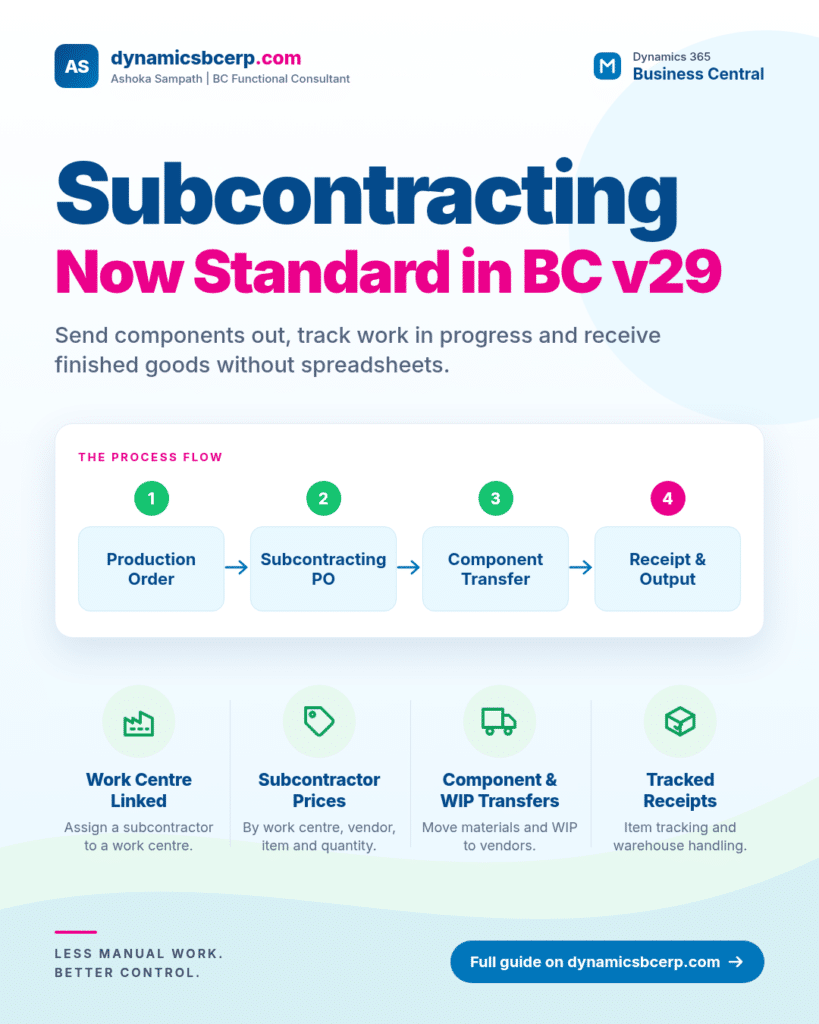
- Create and release the production order. Components with Vendor-Supplied or Consignment at Vendor automatically move to the vendor’s subcontracting location.
- Create the subcontracting purchase order. One option is to open the production order routing, select the operation and choose Create Subcontracting Order. The other is to run Calculate Subcontracts on the Subcontracting Worksheet and then Carry Out Action Message to create orders in bulk. Subcontractor prices, comments and attachments carry across.
- Send the components. From the purchase order, choose Create Transf. Ord. to Subcontractor. BC fills in the transfer-from and transfer-to locations for you. You can also print the Subcontractor Dispatching List to go out with the goods.
- Move work in progress between subcontractors. For multi-stage work, turn on Transfer WIP Item on the routing line. The same action then creates a transfer line for the semi-finished parent item. When you post a WIP transfer, BC records it in a dedicated Subcontracting WIP ledger rather than as item or value entries.
- Receive the finished goods. Use the purchase order, a warehouse receipt, or (new in v29) an inventory put-away, depending on the location setup. For the final operation, posting records the output and capacity, including serial or lot numbers from the production order. For an intermediate operation, it records capacity only.
- Return unused components. Use Create Return from Subcontractor to bring leftover material back.
- Invoice and finish. Invoice from the purchase order itself. When you finish the production order, the WIP Quantity Clean Up option clears any remaining WIP balances.
Practical tips and gotchas
Points I’d flag in any design workshop:
- Set up transfer routes with an in-transit code both ways between every warehouse and subcontractor location. Without one, BC creates direct transfers. Those can fail when locations need warehouse handling, and they don’t support WIP transfers.
- Price tiers don’t work the way purchase prices do. BC picks the tier with the highest minimum quantity that still qualifies, not the cheapest one. If an order falls below the minimum amount, BC quietly raises the unit cost without any warning. Explain both of these to your purchasing team.
- Automatic output. If the subcontracted operation is the last one on the routing, receiving the purchase order posts output. If you don’t want that, add a final in-house operation.
- Invoice only from the order. Get Receipt Lines and Get Order Lines on a separate invoice aren’t supported for subcontracting orders. Accounts payable teams often get caught out by this.
- One purchase order per routing line. If you select several routing lines on a production order, each gets its own purchase order, even if they go to the same vendor.
- Item tracking isn’t supported on WIP transfers or on intermediate operations. Plan lot or serial numbers around the final operation.
- Fields lock (quantity, location, item) once components or WIP items are at the vendor. Train users on this before go-live.
- The assisted setup guide doesn’t validate your setup. It only links to the pages, so you still need a proper test cycle.
Who should use it?
It suits any manufacturer that outsources operations such as plating, heat treatment, painting or assembly, especially where material or semi-finished goods move between vendors. It’s also important for existing customers on a partner or localisation subcontracting solution, especially in Italy. For them, the question is now “when do we migrate?” rather than “should we?”.
Final thoughts
This is one of the most useful manufacturing additions to Business Central in years. Install it in a sandbox, try the Contoso demo routings, and build your transfer routes and price lists before going near production.
Are you planning a subcontracting rollout, or moving from a localised or custom solution? I’m happy to talk it through. Connect with me on LinkedIn or get in touch through this website. Follow along for more practical Business Central posts each week.
Sources and further reading
- Microsoft Learn: Subcontracting overview
- Microsoft Learn: Set up subcontracting
- Microsoft Learn: Order subcontracting
- Microsoft Learn: Manage components in subcontracting
- Microsoft Learn: Set up subcontractor prices
- Microsoft Learn: Set up locations for subcontracting
- Microsoft Learn: Transfer WIP items between subcontractors
- Microsoft Learn: Feature details in update 29.0 (2026 release wave 2)
- Release plan: Use subcontracting capabilities in production processes
- Message Center RM576872
- BCApps on GitHub: Subcontracting app source
- Inside Business Central: BC 2026 Wave 2, what’s actually changing in manufacturing and inventory
Leave a Reply